How I Installed the Nillion Node (Verifier)
I first joined the Nillion community back when they started releasing videos, and I even got an NFT after completing one. But, to be…
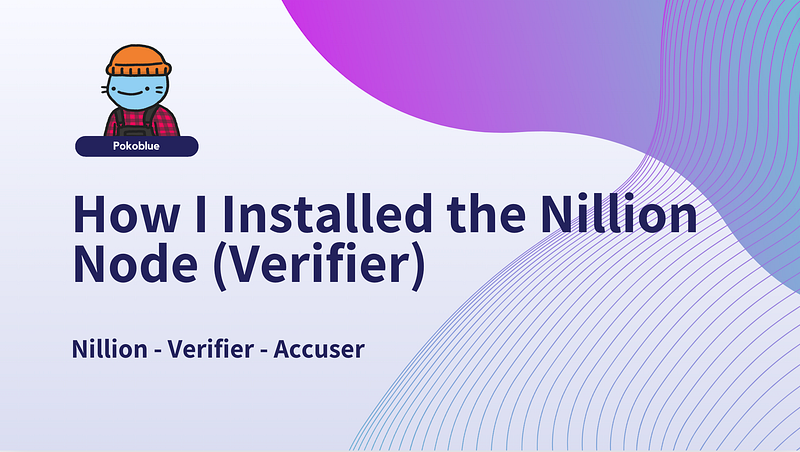
I first joined the Nillion community back when they started releasing videos, and I even got an NFT after completing one. But, to be honest, I kind of drifted away during their community round… until I stumbled upon this.

“Early participants will be recognized.” That was enough to get me to rejoin them! In my mind, their verifier works like a node that verifies blockchain data. Actually, their guide is pretty straightforward. They’ve packed everything into Docker, so all we need to do is run it. So, let me share the process I followed to get it set up.
Official Guide: https://verifier.nillion.com/
Preparation: go to the website
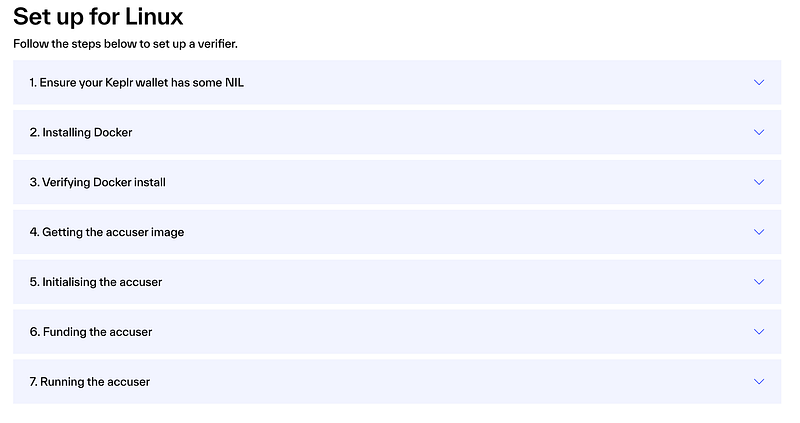
First, go to the website and click on “Verifier” on the right side. You’ll be prompted to sign in — I used Keplr for this step. After that, choose your preferred operating system. I went with Linux, but the steps should be pretty similar for other OS options.

After that, you’ll see a guide with 7 steps specifically for Linux.
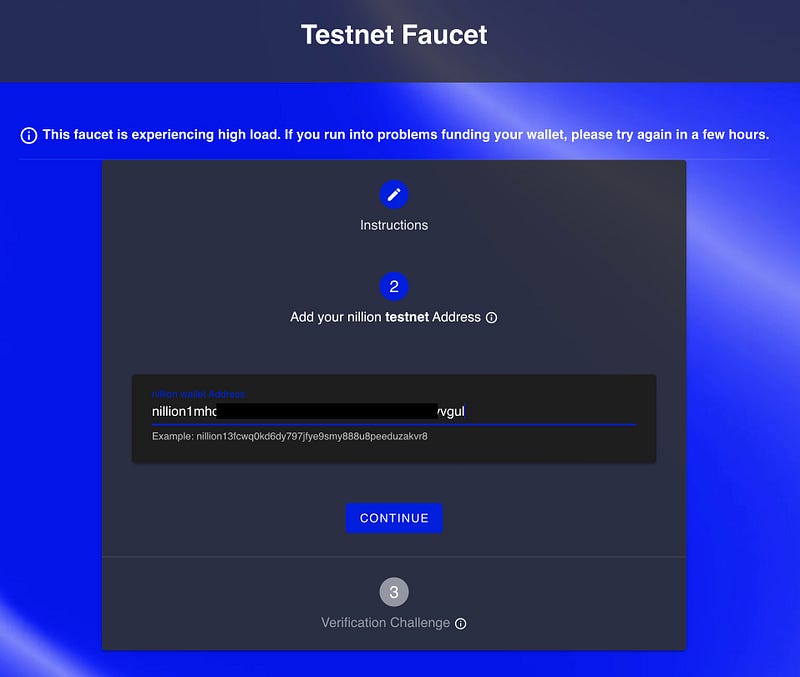
1. Get Faucet from Nillion Network
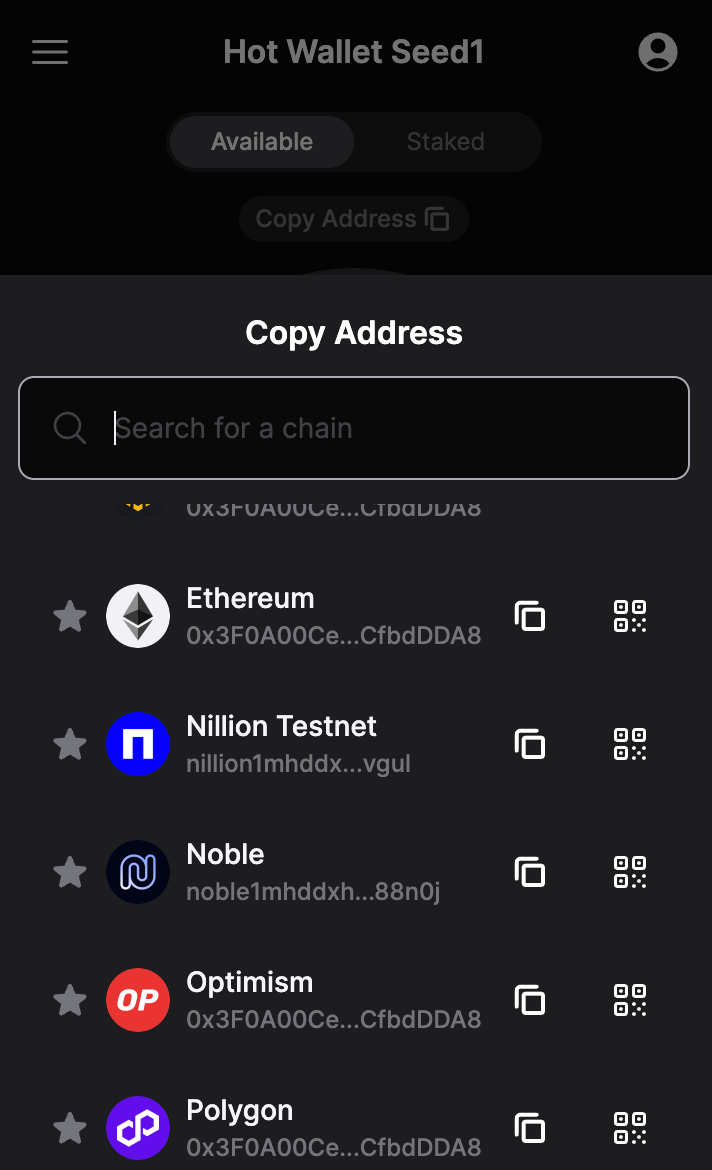
Before I reqeust the facuet, I couldn’t find the Nillion wallet address in my Keplr wallet. But then, I added the network, and the address became available. Just enter your Nillion wallet address into the faucet and make the request.

2. Install Docker
Personally, I prefer to create a new KVM guest every time I install a node. There’s a bit of overhead, but it helps me manage library dependencies more effectively and keeps me worry-free about potential conflicts. However, if you already have Docker installed, you can skip this step.
For Docker installation, I use the following code:
#udpate repo
sudo apt update
sudo apt upgrade -y

#install dependency
sudo apt-get install apt-transport-https ca-certificates curl software-properties-common -y

#add docker gpg (for best practice)
curl -fsSL https://download.docker.com/linux/ubuntu/gpg | sudo apt-key add -

# add docker official repo
sudo add-apt-repository "deb [arch=amd64] https://download.docker.com/linux/ubuntu $(lsb_release -cs) stable"

#update and install
sudo apt-get update
sudo apt-get install docker-ce -y
3. Verify docker is working
This is just a simple step to ensure that the Docker installation is working correctly.
docker container run --rm hello-worldYou should see the result like this.
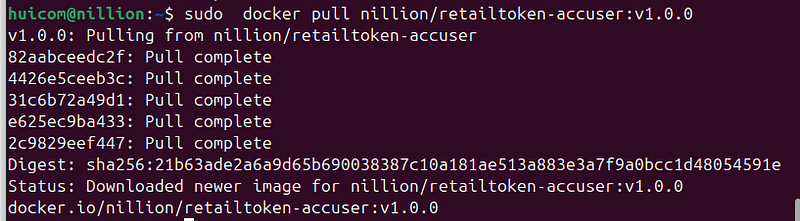
4. Pull the Nillion image (Accuser)
sudo docker pull nillion/retailtoken-accuser:v1.0.0After running the command above, Docker will start pulling the nillion/retailtoken-accuser:v1.0.0 image.
5. Start the Accuser to get ID
#create directory, I've created in my Home Directory
mkdir -p nillion/accuser

#run
docker run -v ./nillion/accuser:/var/tmp nillion/retailtoken-accuser:v1.0.0 initialise
Referring to the code above, after creating the “nillion/accuse” directory in my home path, I wasn’t sure if I should run the command from within that directory or not. I chose to run it from the home path, and it worked for me.
Result:
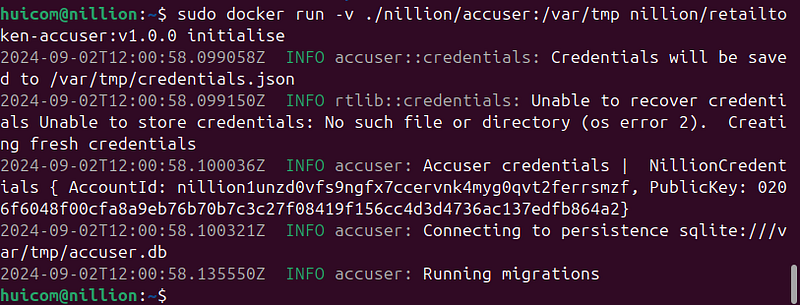
After running this command, you’ll need two pieces of information to enter on the website:
- AccountId: nillion1unzd0vfs9ngfx7ccervnk4myg0qvt2ferrsmzf
- PublicKey: 0206f6048f00cfa8a9eb76b70b7c3c27f08419f156cc4d3d4736ac137edfb864a2
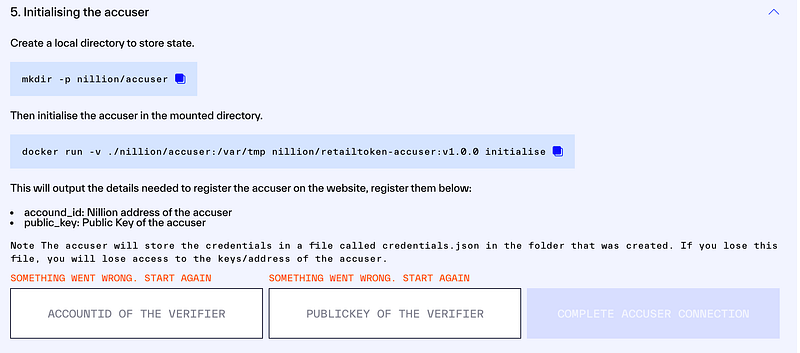
From the output above, find your own AccountId and PublicKey — don’t use mine! You’ll need to enter your specific AccountId and PublicKey to make everything work.
Next, enter your AccountId and PublicKey in the input boxes found this Step on their verifier website.
6. Funding the verifier
This part is straightforward. As you might guess, you just need to request funds for the account you obtained in Step 5 above.
7. Final step, Run
imply run this command.
docker run -v ./nillion/accuser:/var/tmp nillion/retailtoken-accuser:v1.0.0 accuse --rpc-endpoint "https://testnet-nillion-rpc.lavenderfive.com" --block-start 5320409After executing the command, the Nillion website suggests waiting 30–60 minutes for the initialization to complete. After that, it will start syncing.
That all for today, hope you enjoy reading!!!